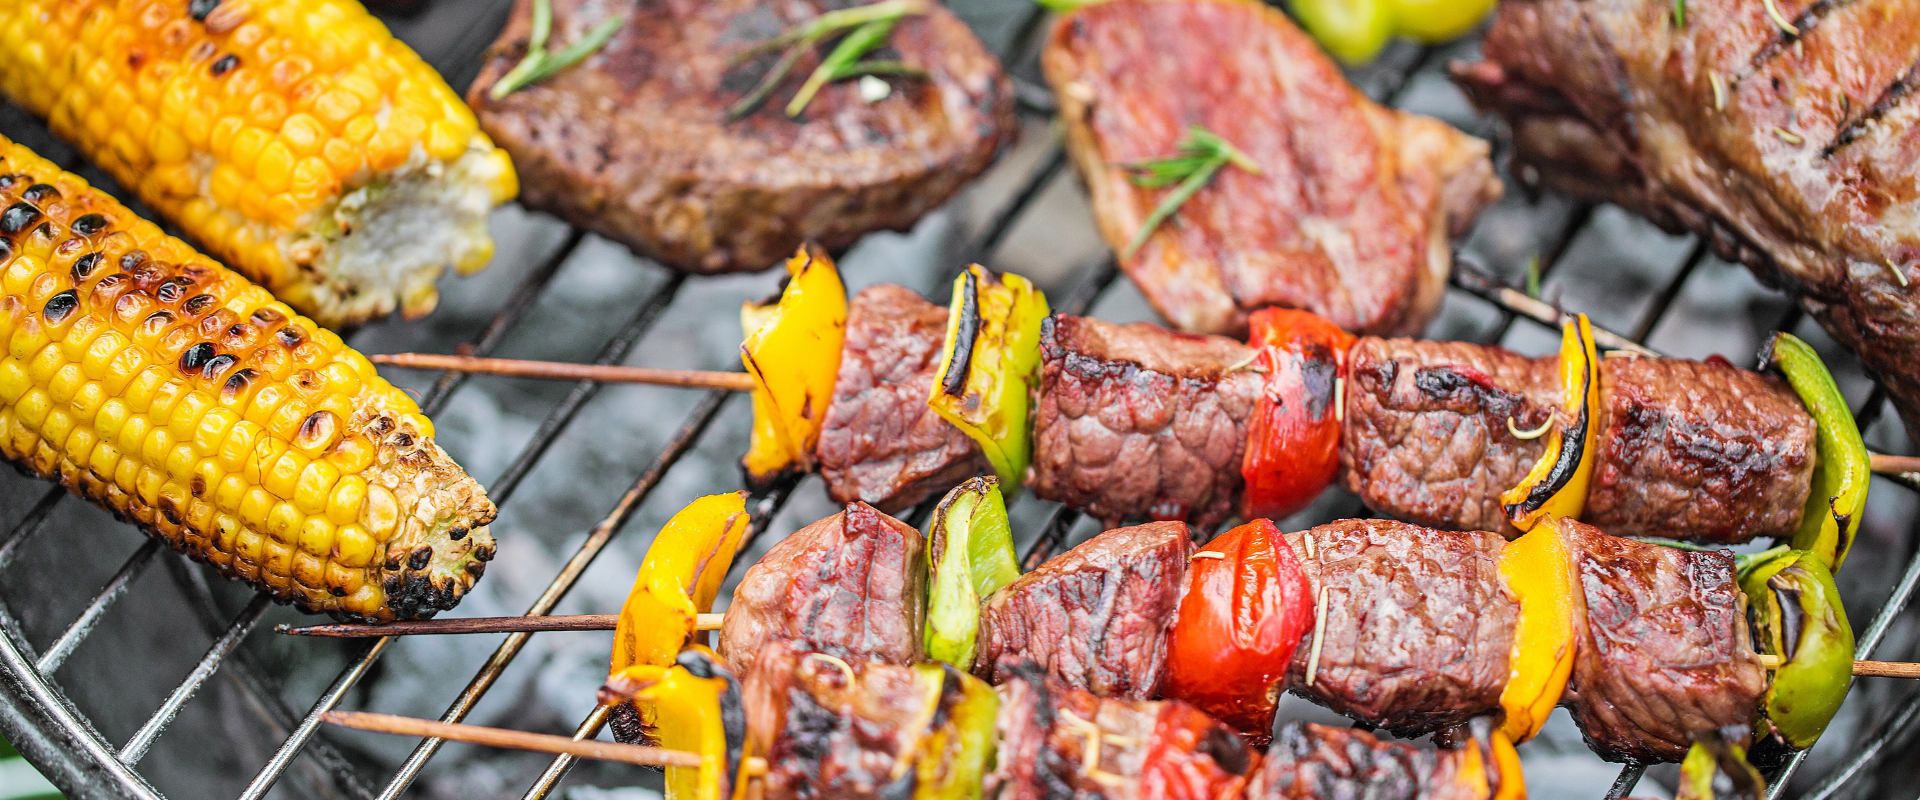
Some of summer’s best meals come straight from the grill. From chicken to fish to portobello mushrooms, grilling is SO common that it can become routine. Your grilling playbook might look something like this: Light fire, add food, flip midway, poke it until it seems done ... right? If so, you might be missing out on the best the grill has to offer.
We asked Aramark Senior Executive Chef Tom Ramsey to share his best grilling tips and tricks for home cooks. Whether you’re on Team Gas Grill or Team Charcoal, or new to the grilling game entirely, get ready to make every cookout a resounding success!
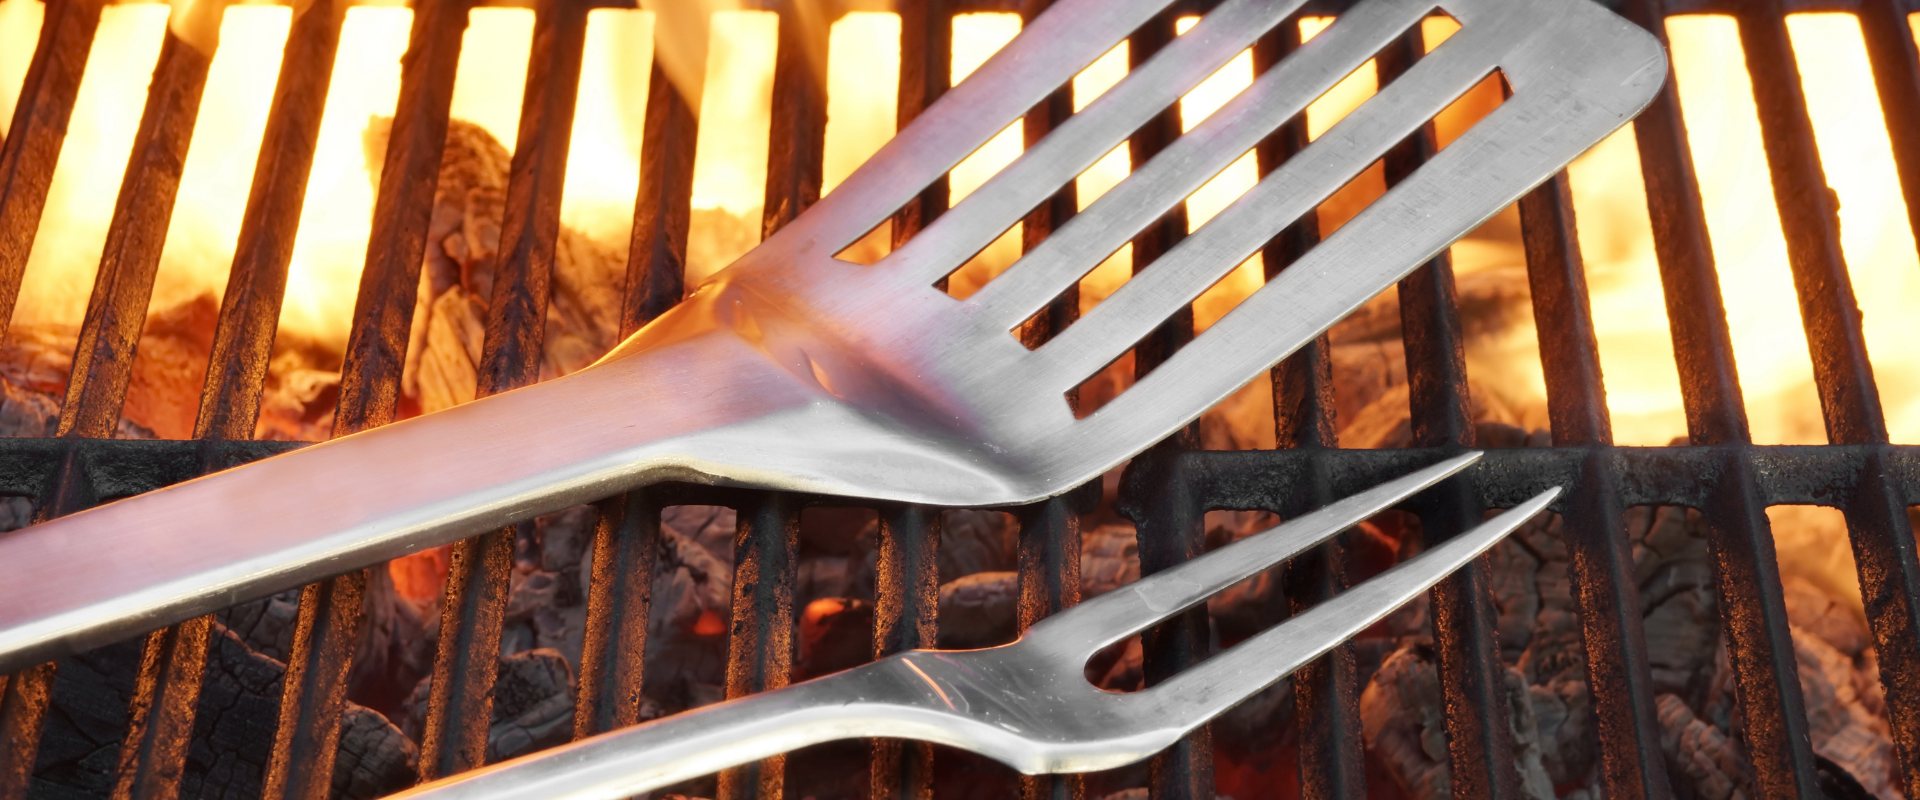
Start with the right tools.
Grilling calls for more equipment than other cooking methods. Chef Tom’s grilling checklist includes long tongs, heavy-duty aluminum foil, a food thermometer, a timer, hot pads, a basting brush, and a grill basket.
But his ultra-secret weapon? “Fill a squirt or spray bottle with some water or apple cider vinegar,” he says. “Water creates steam for grilled veggies, keeping them nice and tender. Meanwhile, the vinegar will baste your protein and help keep it moist, with a touch of tangy flavor.”
Stay organized.
All that gear adds up, so Chef Tom suggests placing a small table near the grill to keep it all handy. There you can stash your tools, ingredients, utensils, and serving platters. “With everything within arm’s reach, you’ll have one less thing to think about,” he points out. “We chefs live by this rule of mise en place, or ‘everything in its place.’”
Fuel up.
Add fuel to your list of tools—because nothing is worse than running out of propane, charcoal, or pellets in the middle of a grill session. “Two is one and one is none, as the saying goes. Always have a back-up,” Chef Tom states.
Choose your heating method.
Chef Tom explains that there are two types of heat when it comes to grilling: direct and indirect. With direct heat, you’re cooking food over the open flame. With indirect heat, the food is placed next to the fire. So, which do you use when?
“Direct heat is perfectly suited for grilling smaller, quick-cooking food such as steaks, chicken breasts, fish, burgers, and veggies,” he shares. “But for whole chickens, ribs, and brisket, you’ll want indirect heat.”
Prep the grates.
Grilling is juicy, saucy business—and all those drippings can build up over time. That’s why you want to start each grilling session with a clean slate. Heat the grill in advance to burn off leftover residue, using a grill brush to buff the grates clean.
Better yet, there’s a way to prevent build-up in the first place! “Right before you add your food, dip an old kitchen towel in high-heat oil (such as vegetable or canola). Rub it over the hot grates, using those long tongs to avoid burning your hands,” Chef Tom advises. “This will make clean-up a breeze.”
Locate your hot spots.
Did you know that not all space on the grill is created equal? To test this, lay pieces of sandwich bread across the grate’s entire surface. After a couple of minutes, flip them—and you’ll see the difference in the toast’s color. Food that needs to be seared over direct heat should go in the hotter spots. You can reserve the cooler spots for items that cook low and slow over indirect heat (see #4 above).
One benefit of a charcoal grill, Chef Tom notes, is that you can control the hot spots through zoning. “Put your charcoal exactly where you want it, then cook your food in the hotter and cooler zones depending on the need,” he recommends.
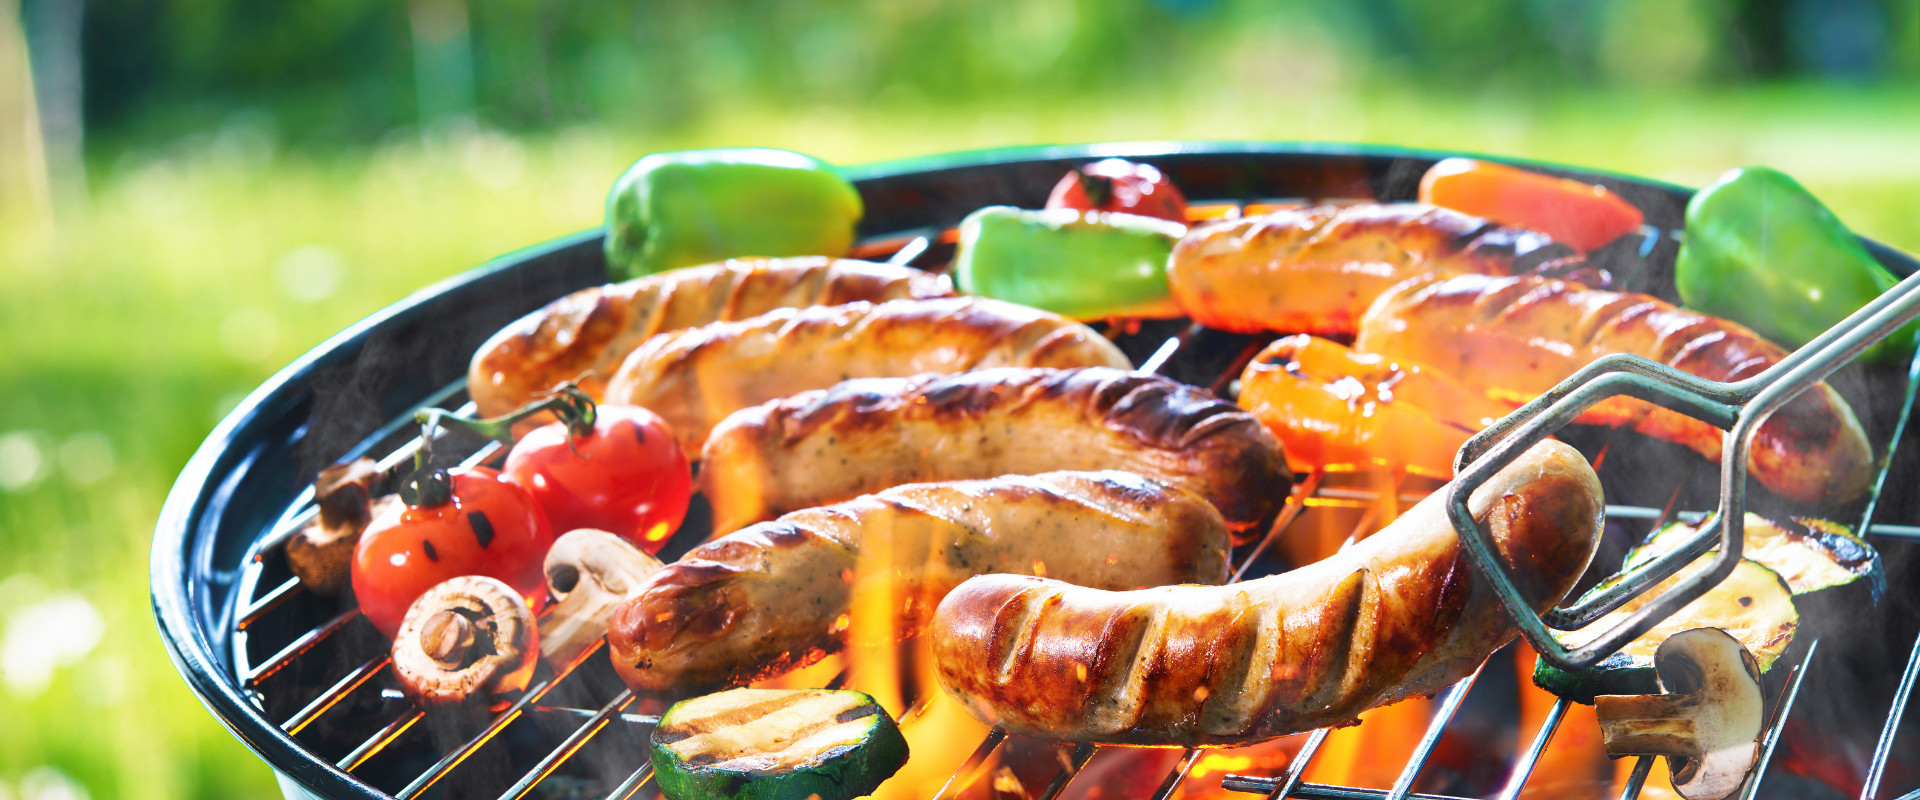
Place food carefully.
That flame may look small, but it can flare up when you go to add your food. Not only do you want to avoid getting burned yourself, but you also want to lower your exposure to the harmful chemicals that form when food is overcooked or burnt.
Chef Tom recommends adding your food neatly and carefully (again, those long tongs will help!). “Be especially cautious with foods that have a high fat or oil content,” he says. “And if food has been soaking in a liquid marinade, pat it dry before placing it on the grill.”
Keep a lid on it (or not).
Open or closed? “If the food is 3⁄4-inch thick or less, you can leave the lid open,” Chef Tom advises. “Anything thicker will benefit from a closed lid to hold the heat inside. This way, the grill acts more like an oven than a stovetop.”
Lock in moisture.
With prolonged grilling, it’s all too easy for your food to dry out. Basting can help (see tip #1!), but for low and slow grilling, wrap your food in heavy-duty foil. “The foil will act as an envelope and trap moisture to finish the cooking process,” Chef Tom explains.
Turn your grill into a multi-tasker.
While the entrée cooks, you can use the time to prepare sauces, side dishes, and other finishing touches for your meal. “Many people are surprised to learn that their outdoor grill can double as a cooking range. For example, you can bake skillet cornbread or simmer BBQ sauce in a pan—right there on the grill!” Chef Tom says.
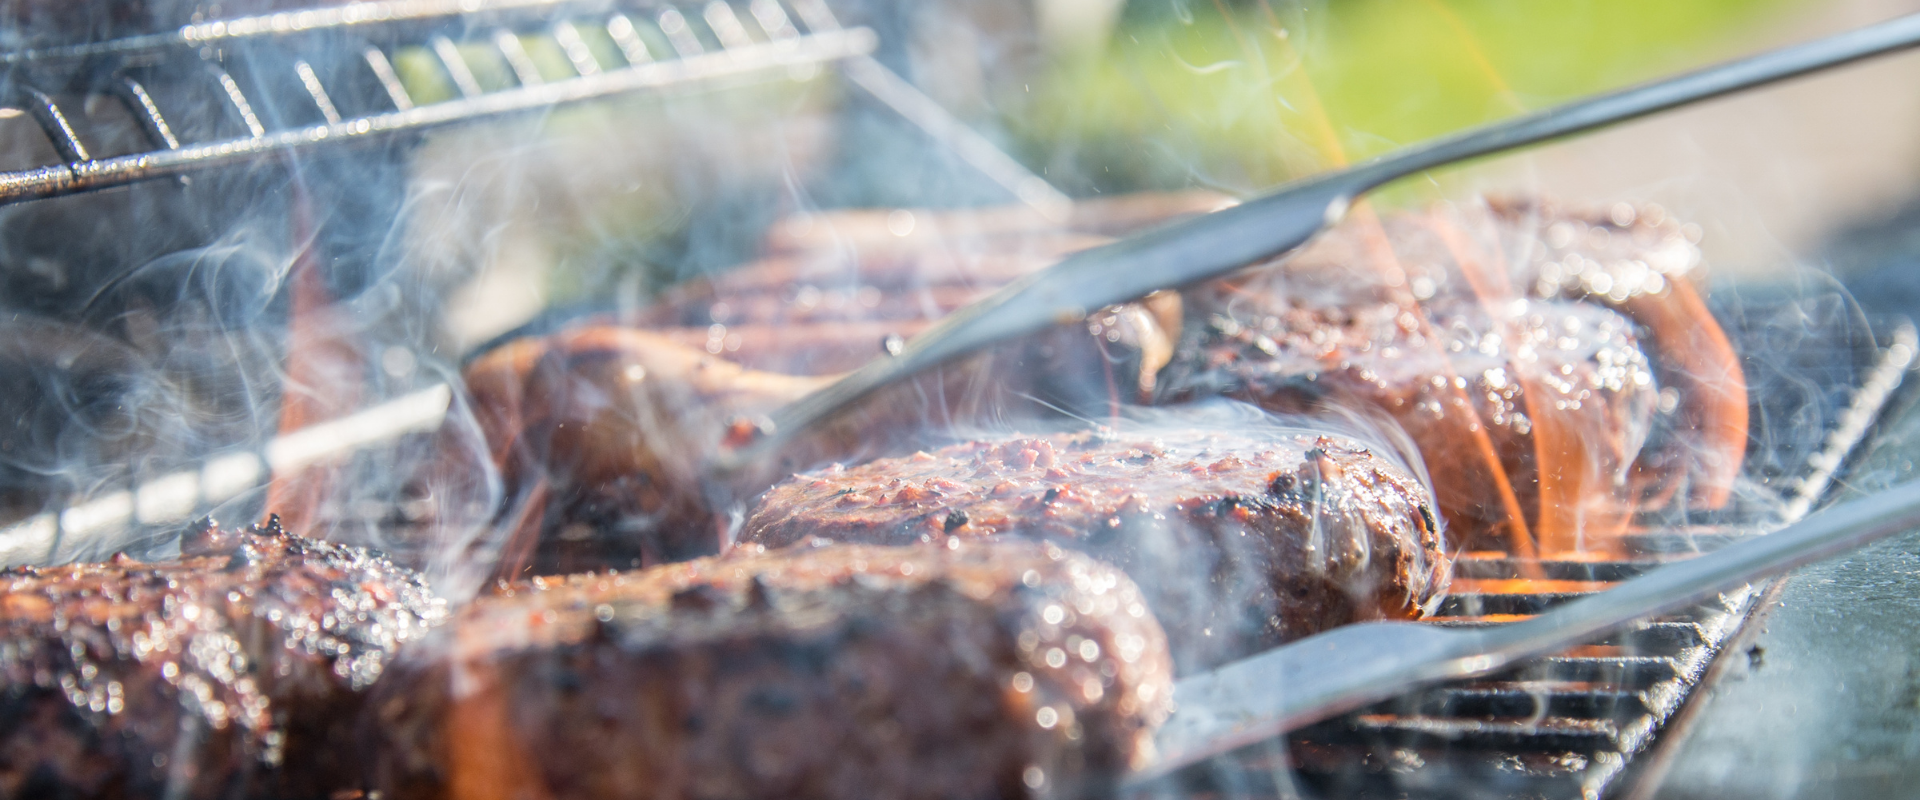
Last but not least, safety first.
Remember that you’re cooking with a live fire, and that calls for a watchful eye. “As a young cook, I once left a grill unattended for a few minutes,” Chef Tom recalls.
“Before I knew it, a neighbor was knocking on my door to tell me the whole thing was on fire. Not only did I ruin the food, but I nearly destroyed my grill—and it could have turned out much worse. I really learned my lesson.”
Grilled to Perfection.
Like any cooking method, you can improve your grilling game with proper technique. Whether you’re serving up meats, seafood, veggies, or even desserts, we hope Chef Tom’s tips get you thinking about your grill in a whole new way.
Go forth, grill master—and have fun getting fired up!